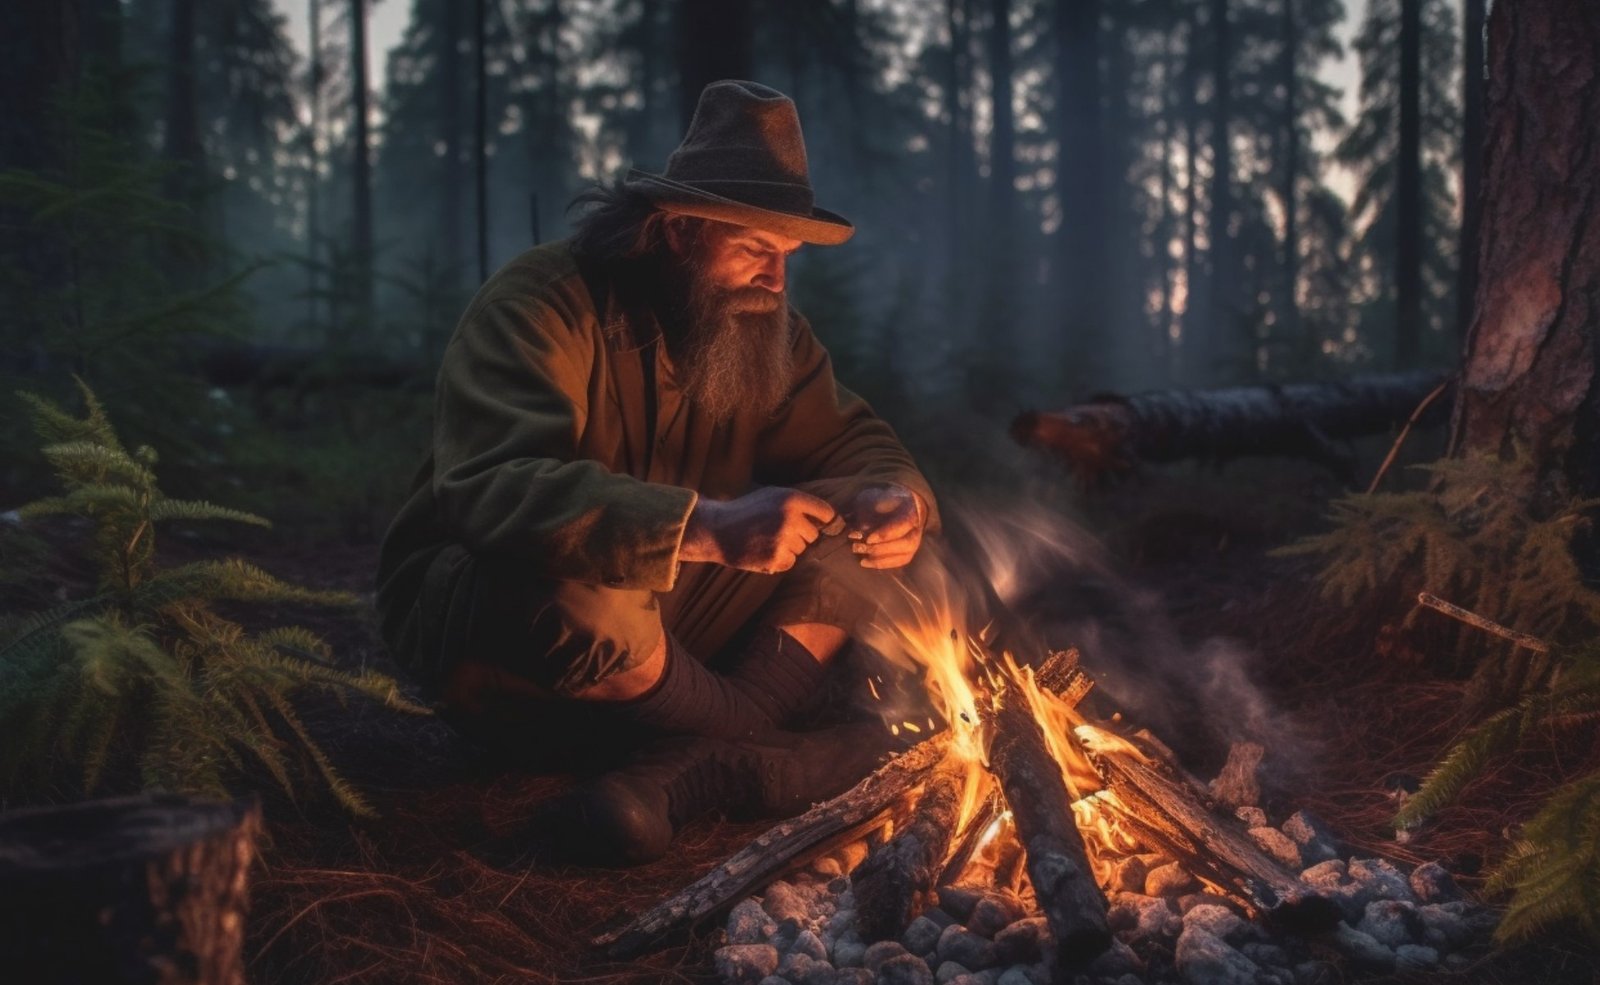
Hey there, nature lovers! Looking to escape the daily grind and immerse yourself in the great outdoors? Whether you’re planning a camping trip, hiking adventure, or just want to chill in the wild, knowing how to build a fire is a must-have skill. A fire can keep you warm, help you cook a meal, and even send a signal for help if needed. In this article, we’re gonna walk you through the process of building a fire in the wilderness. We’ll cover various techniques, safety precautions, and some nifty tips and tricks to make your outdoor experience a blazing success. So, let’s get started!
II. Choosing the Right Location
Before you strike that match, it’s super important to find the perfect spot for your fire. When choosing a location, you should consider safety, accessibility to firewood and tinder, and natural fire barriers. Keep your fire at least 15 feet away from flammable stuff like tents, trees, and bushes. We want to stay warm, not start a forest fire! Pay attention to the wind direction, and make sure the area is flat and stable so your fire doesn’t spread or get out of control. Choose a spot where you can easily find dry, dead branches and other materials for your fire. Utilize natural barriers like rocks or logs to help contain your fire and prevent it from spreading.
III. Gathering Materials
To build your fire, you’ll need three types of materials: tinder, kindling, and fuelwood. Dry leaves, grass, or small twigs are great for tinder. Bark shavings or pine needles also work well. To keep your tinder dry, store it in a waterproof container or plastic bag. And trust us, you can never have too much tinder, so grab more than you think you’ll need.
For kindling, you’ll want small sticks and branches, no thicker than a pencil. Snap those sticks to make sure they’re dry and ready to burn. Gather a variety of sizes to help your fire progress from tinder to fuelwood.
Fuelwood consists of larger logs and branches, varying in size and thickness. Make sure the wood is dead and dry, not green and sappy. Collect enough fuelwood to last the duration of your fire.
IV. Preparing the Fire Site
Once you’ve got your materials and picked your spot, it’s time to set the stage for your fire. Remove any debris and create a shallow pit to contain your fire. Surround the pit with rocks or a ring of dirt to help prevent the fire from spreading. Place a bundle of tinder in the center of the pit. Arrange kindling around the tinder, leaving enough space for air to flow. Keep fuelwood nearby, ready to add once the fire is going.
V. Building a Fire Structure
There are several ways to build your fire. Here are three popular methods:
A. Teepee Method
Arrange kindling around the tinder like a teepee, leaving an opening for airflow and ignition. Add larger fuelwood pieces, continuing the teepee shape. The teepee method is easy to build and great for cooking, but it can collapse and may require more maintenance.
B. Log Cabin Method
Create a square base with larger fuelwood pieces, parallel to each other. Stack kindling and smaller fuelwood pieces on top, alternating directions to form a “log cabin” structure. Place tinder in the center of the structure. The log cabin method is stable, long-lasting, and good for warmth, but it may take longer to ignite and is not ideal for cooking.
C. Lean-to Method
Find a long, sturdy stick and lean it diagonally over the tinder bundle, anchoring it with rocks or logs. Lean kindling and smaller fuelwood pieces against the stick, creating a ramp-like structure. The lean-to method is effective in windy conditions and easy to build, but it is limited in size and not ideal for larger fires.
VI. Lighting the Fire
Now that your fire is set up, it’s time to light it up! You can use matches or a lighter to ignite the tinder from the bottom, focusing on the side with the most airflow. Alternatively, you can use fire-starting tools like a ferro rod, flint and steel, or a magnifying glass. Strike or focus the tool on the tinder to create sparks or concentrated sunlight to ignite it. Blow on the tinder gently to provide oxygen and help the fire grow. Gradually add kindling and fuelwood as the fire takes hold.
VII. Maintaining and Controlling the Fire
Once your fire is lit, you’ll need to keep it going and manage its size. Add larger logs and branches as needed, ensuring they’re placed in a way that maintains airflow. Rearrange or add fuelwood as needed to control the heat and size of the fire. Remember to always practice fire safety and never leave your fire unattended. Keep a bucket of water or dirt nearby to extinguish the fire if necessary.
VIII. Extinguishing the Fire
When it’s time to put out your fire, follow these steps to ensure it’s completely out and leave no trace:
Douse the fire with water, making sure to soak all embers and coals. Cover the fire with dirt and stir the mixture until it’s cool to the touch. Double-check the fire site and make sure there are no remaining hot spots or embers. Scatter the cooled ashes and return the site to its natural state, following the Leave No Trace principles.
IX. Frequently Asked Questions (FAQ)
Q: Can I use wet wood for my fire?
A: It’s best to use dry, dead wood for your fire. Wet wood can be difficult to ignite and may produce excessive smoke.
Q: What’s the best fire structure for cooking?
A: The teepee method is great for cooking because it produces a concentrated heat source. However, you may need to adjust the structure as the fire burns.
Q: How can I make my fire last longer?
A: Use larger, thicker fuelwood pieces, and arrange them in a log cabin or lean-to structure to promote a slower, more controlled burn.
X. Conclusion
And there you have it – a comprehensive guide to building a fire in the wilderness! By following these tips and techniques, you’ll be able to enjoy a cozy fire on your next outdoor adventure. Just remember to always practice fire safety and leave no trace to protect our beautiful environment. Whether you’re an experienced camper or a wilderness newbie, mastering the art of fire-building is a valuable skill for everyone to have. Happy camping, and stay toasty out there!